
Sometimes the default options for customization won't be enough for you and you might want to do something more, something beyond what's supported. That's where the custom CSS option comes into place. In this article, we will see how you can customize your help center even further by supplying some custom CSS.
How do you find what is the element to apply style to?
In order to be able to create your custom CSS, you will, of course need to know the selector of the elements you would like to customize. Here I will list the most common ones and their respective selectors at which you should apply your custom style.
- Header --
.jumbotron - Search Field --
.search-field - Search Bar Button --
.search > .input-group-addon - Logo --
.navbar-brand - Category Boxes --
.category-box - Footer --
footer
More info about the element selector you could find by using the "Inspector" in "Developer Tools" of your browser and inspecting the element you are interested in.
Where do you place those styles?
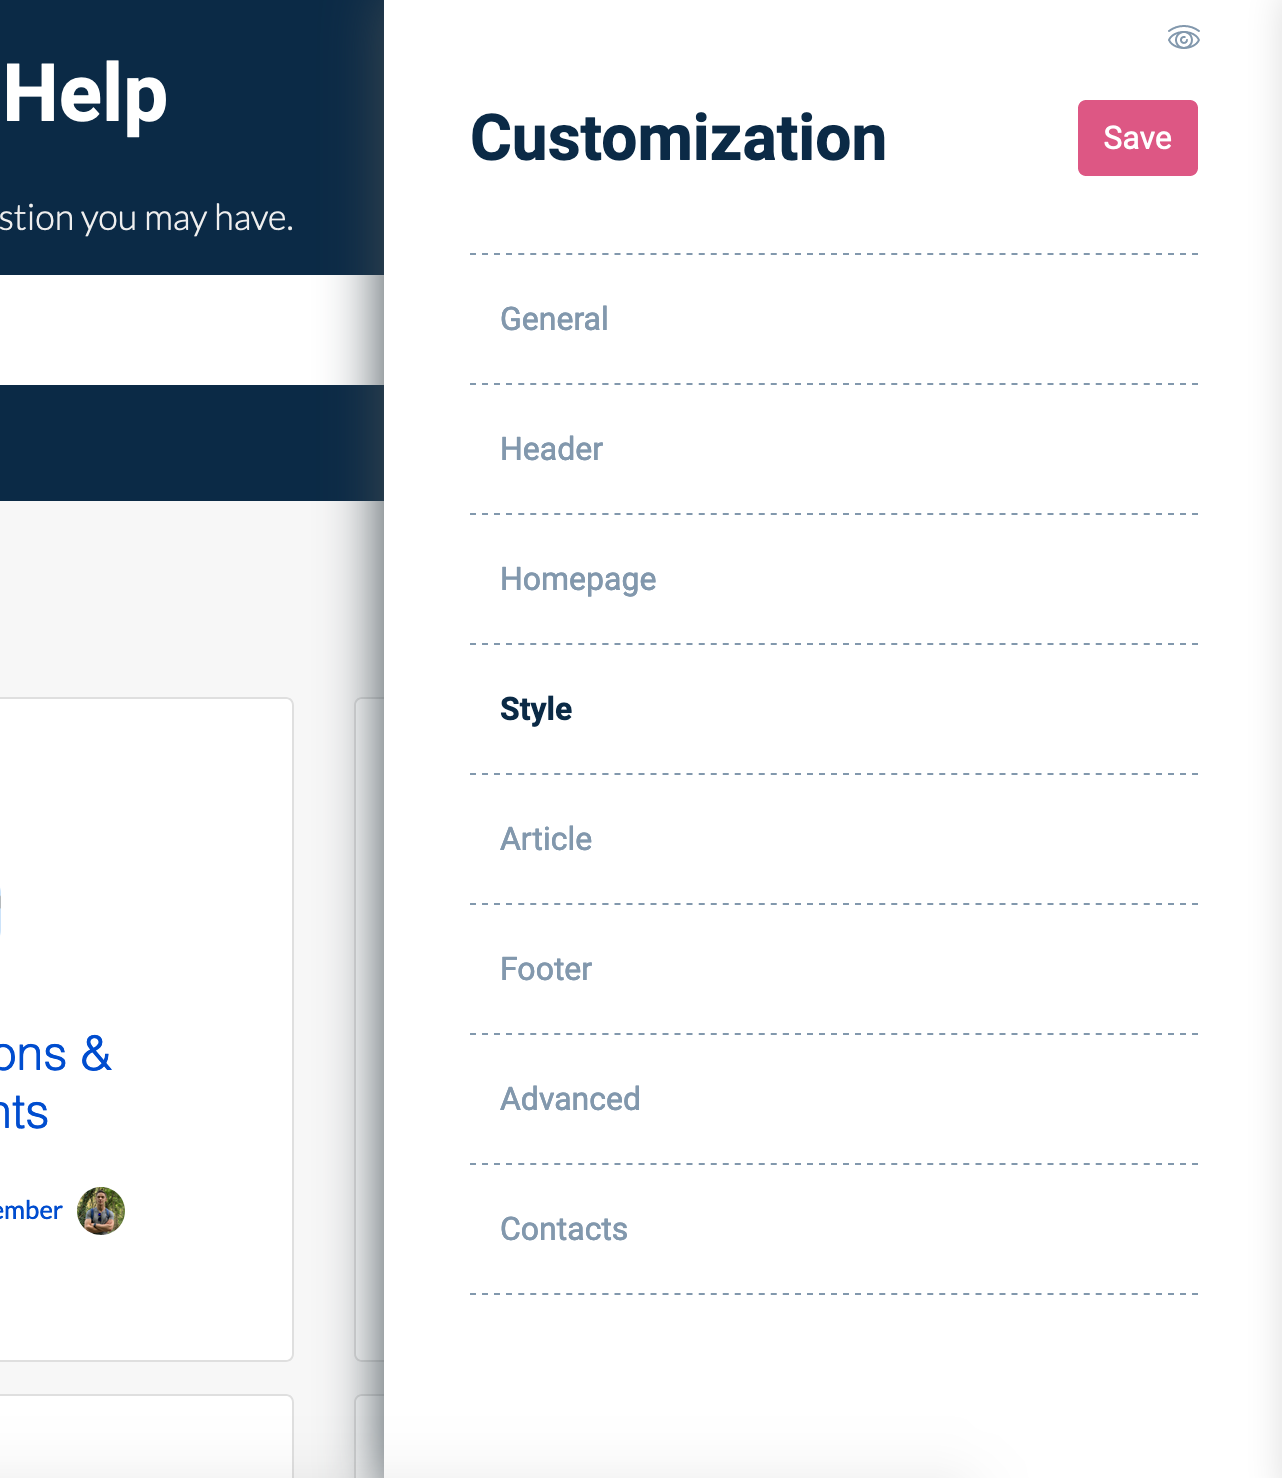
In the customizer, you should navigate to the "Style" section:
At the bottom of which you will find the "Custom CSS" editor. This is the place where you will be writing all of your custom CSS rules.
