Before we can issue an SSL certificate for your help center's custom domain and serve it there, you need to set up it up with your DNS provide.
If that's Namechep, the following guide will show you how to properly set up the DNS records of your custom domain before attaching it to your help center.
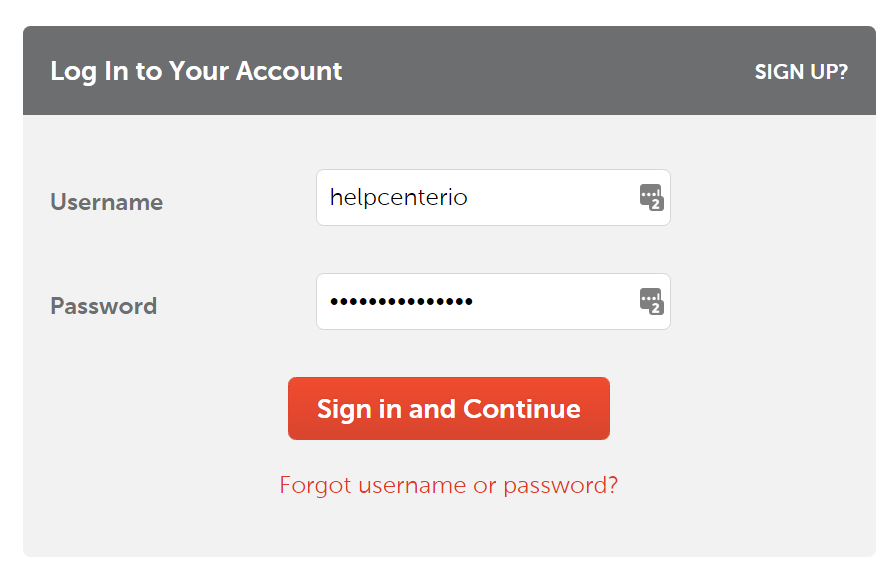
1. Go to Namecheap and log in to your account.

Complete the 2-step verification if enabled for your account and continue with the next step.
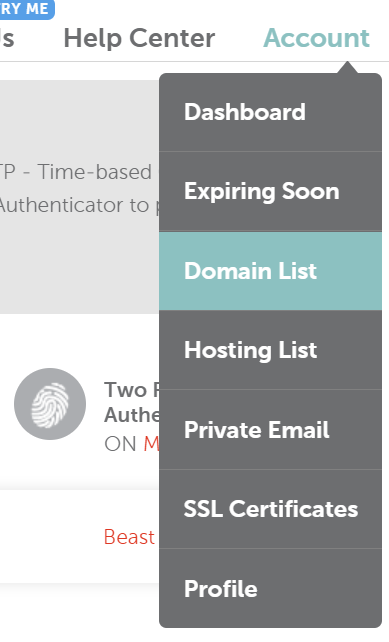
2. Navigate to the Domain List page of your account: Account -> Domain List.

3. On the Domain List page, find the domain you would like to use for your custom domain with HelpCenter.io. Click on the Manage button that appears on the righmost.

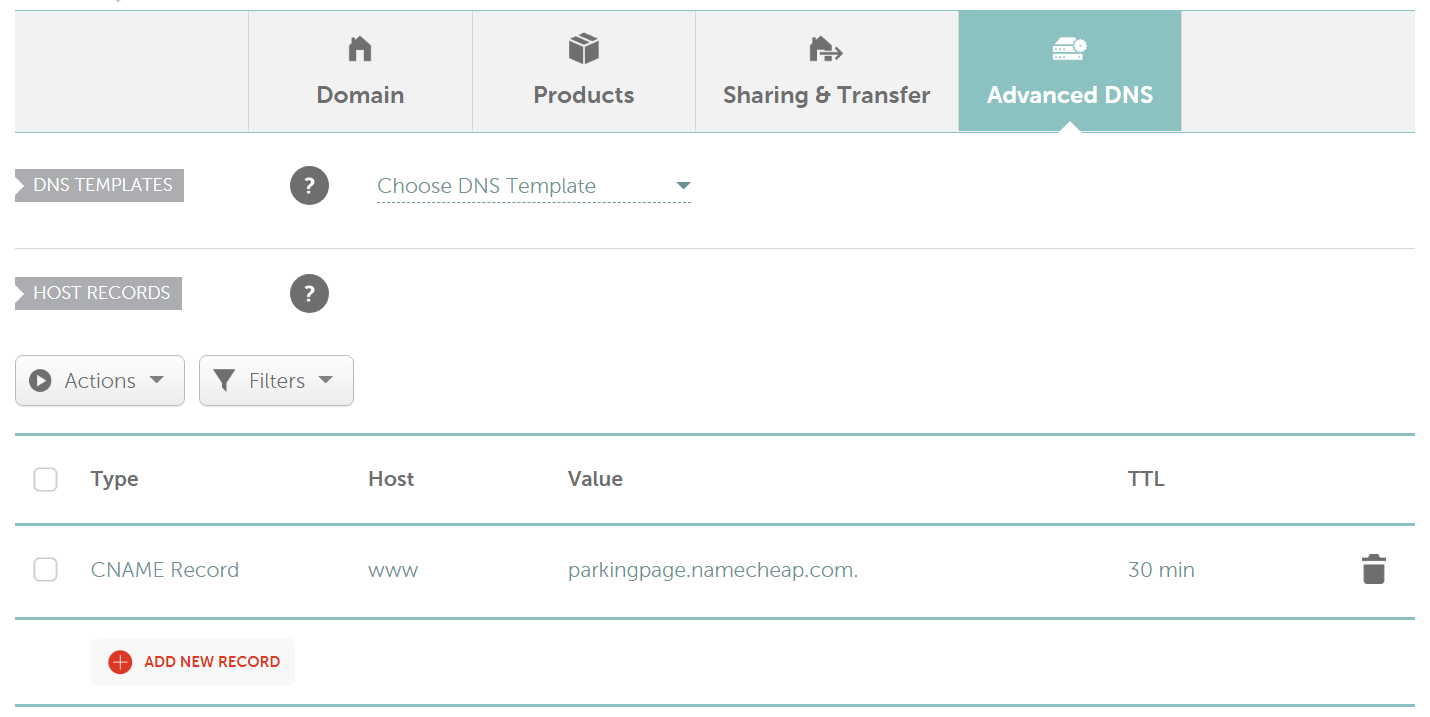
4. Open the Advanced DNS tab then click on the "Add new record" button below the current records listing.

5. Clicking on the red "Add new record" button will add a new row to the table ready to be filled in.

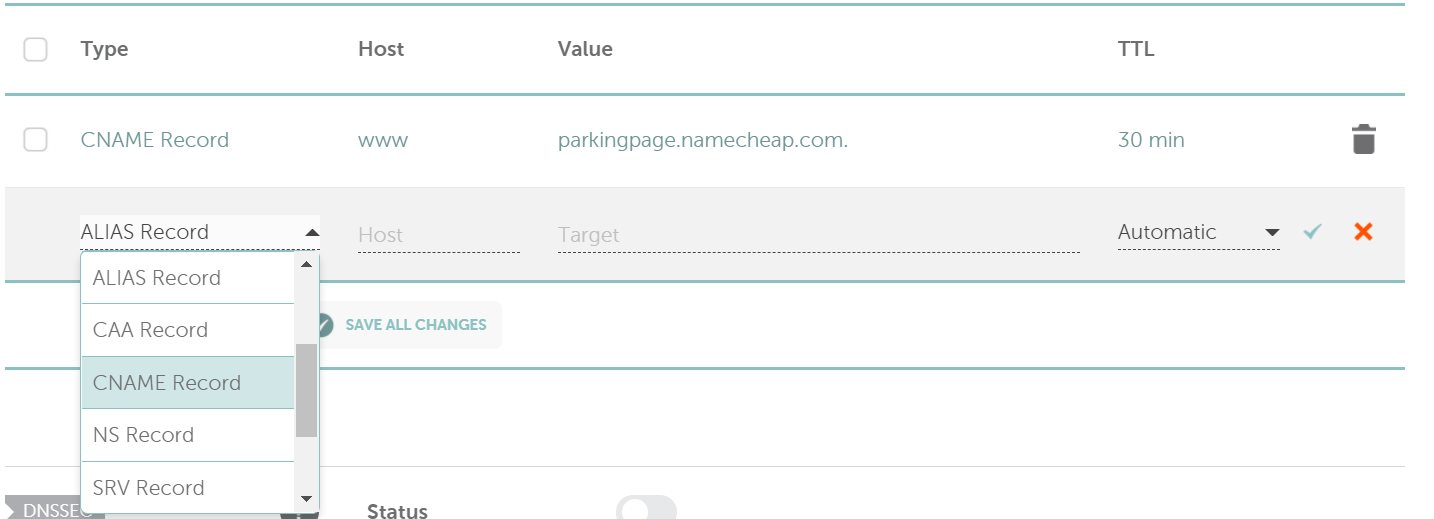
Under Type, select CNAME Record. For Host, type the subdomain you would like to use to serve your help center (e.g. help for help.mywebsite.com, support for support.mywebsite.com, etc.). Finally, for Value type the default subdomain that you got with your help center from HelpCenter.io (e.g. mycompany.helpcenter.io).

When you are ready, click on the green tick at the end of the row to confirm and save the changes.
That's all you need to do to set up the DNS records of your custom domain with Namecheap.
You can now continue with attaching your custom domain to your help center on HelpCenter.io.
help.mywebsite.com.