
When you create a help center for the first time it may come confusing to you what you need to do next and where do you get started. Let's try to clear some of the confusion up with this help article.
Start by navigating around the content management
After you create your first help center, you will be automatically redirected to your main dashboard page which is the content management one. There, by default, you will find one created article and one category. Feel free to edit these or completely delete them and create yours.
Get started with writing content for your help center
Preview what you have
You can easily open up your new help center to preview it by clicking on the preview icon shown on the right of your subdomain name in the top left corner of the screen.

Customize it to match your brand
The next thing you will most probably want to do is begin changing the styles and colors of your help center so it matches your brand or your personal taste. You can do this by navigating to our Customizer which is under the "Customize" link in the settings menu:
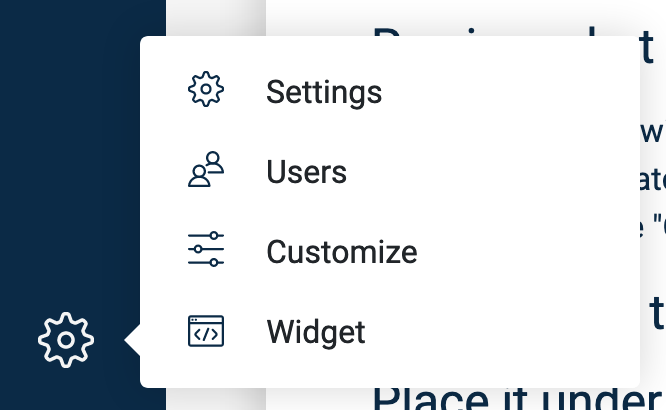
Clicking on it will lead you to our graphic customizer which allows you to change the styles of your help center while simultaneously previewing what happens and how it looks. Open up the sidebar where you will fund numerous options to make your help center truly yours and get started customizing.
Get started with customizing your help center
Place it under your own domain name
After your help center is ready, or even before that you may want to have your help center under your own domain name. Most commonly it will look like this: support.mybusiness.com, help.myproject.com, etc.
You can do this by navigating to the "Settings" page and placing your custom domain name in the "Custom Doman" field from the "Advanced Settings" section. After you do so, you will most probably be shown a warning that you need to set your DNS settings up for that domain name. Learn more in our help doc about setting up your custom domain name.
Publish It
The last step here would be to decide on the visibility of your help center and publish it.
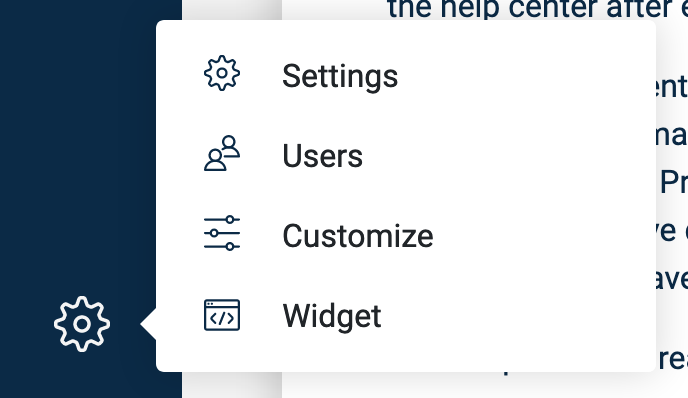
Changing the visibility thus publishing your help center is done from the "Settings" page which is located under the settings menu (click on the cog in the sidebar menu on the left).
You have three options: Public, Private, and Password Protected. By default, all help centers are created with a "Private" visibility which means that only you and the users you've invited can access the help center after everyone logs into their HelpCenter.io account. Leaving the help center private is good when you are building an internal knowledge base.
However, if you're making something for the general public, you may want to switch to "Public" or at least "Password Protected" so it's easier for you to share your help center with a vast number of people. When you've decided on the appropriate visibility option, change it inside the selector and click on the "Save" button.
If you leave your help center private and you have a team you are going to work with, you may want to invite them over from the "Users" page under the settings menu.
Your help center is now ready to rock!
Measure and improve
These were the first few steps you will most certainly take with every new help center. From there, you can ignite the "measure and improve" loop.
Check frequently the stats of your help center to identify what content is working and what is not as well as what are people most commonly searching for and whether you have the appropriate content about it and adjust your help center accordingly so it becomes even more helpful with time. And don't forget to frequently go through your content and update whenever something with your product changes.