

Use Navigation to control the top-level links shown in the header and footer across your help center.
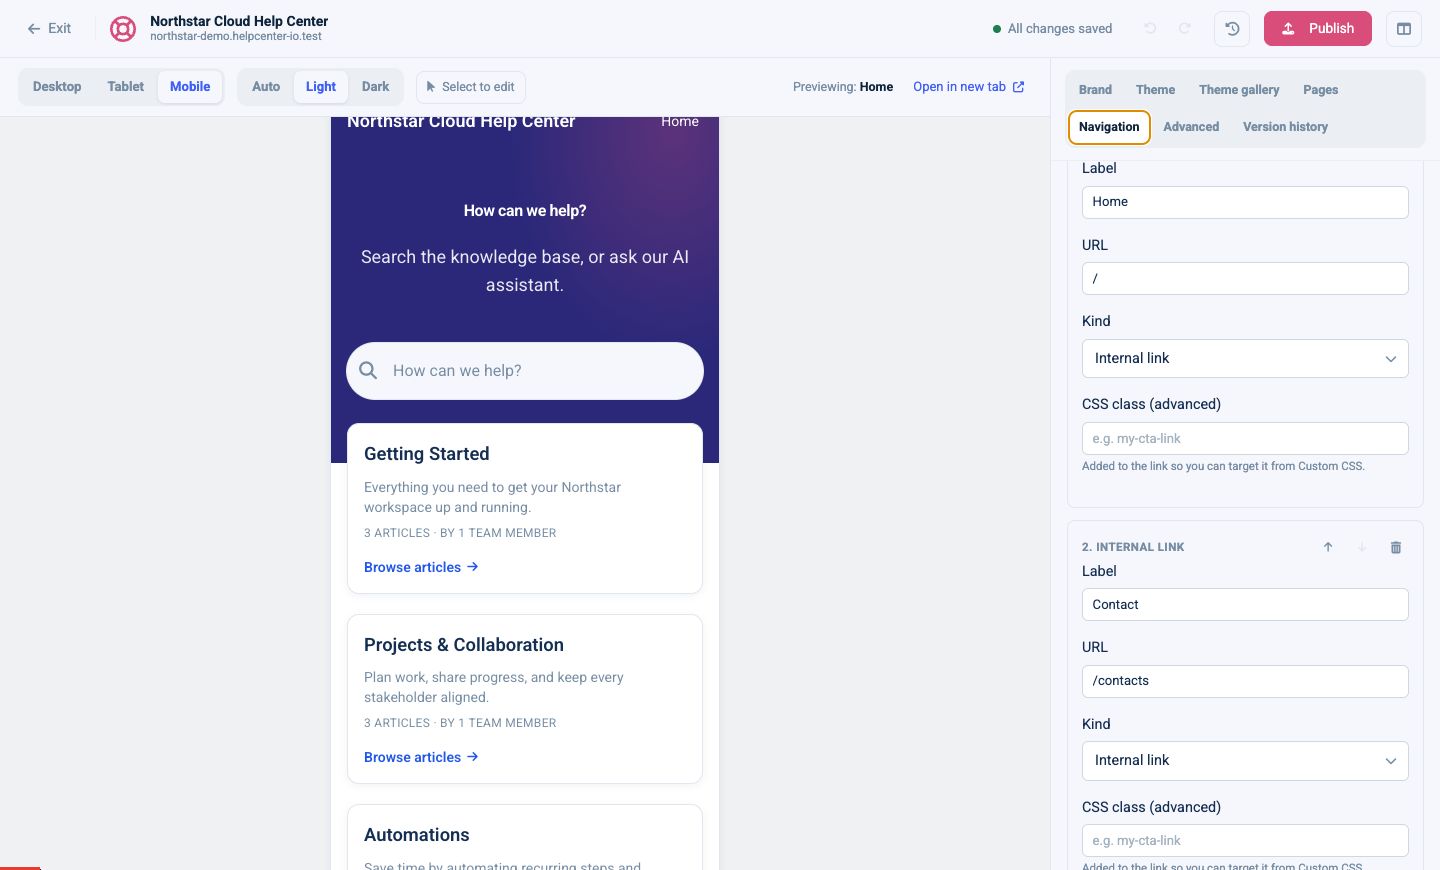
Add a link
- Open Navigation.
- Select Add link.
- Enter the link Label.
- Choose a Kind.
- Set the destination.
The available link kinds are:
- Internal link: a path inside the help center, such as
/contacts. - Category: a category selected from your help center.
- External link: a full URL such as
https://status.example.com.
Reorder or remove links
Use the up and down arrows to control the order. Use the trash button to remove a link from the draft.
Keep the main navigation short. Home, a small number of important destinations, and Contact are usually enough.
Use a custom CSS class
The optional CSS class (advanced) field adds a class to that link. You can target it from Advanced → Custom CSS, for example to make a “Contact support” link look like a button.
Use a simple class name such as support-cta. Do not include a leading period in the field.
Check every destination
Before publishing:
- Open internal links in the preview.
- Confirm category links work for anonymous visitors.
- Check external URLs and their protocol.
- Test the compact navigation in Tablet and Mobile views.
- Verify link colors in both Light and Dark modes.
Private or restricted categories still follow their normal access rules. Adding a navigation link does not make private content public.