

Use Brand to control the identity visitors and search engines see across your help center.
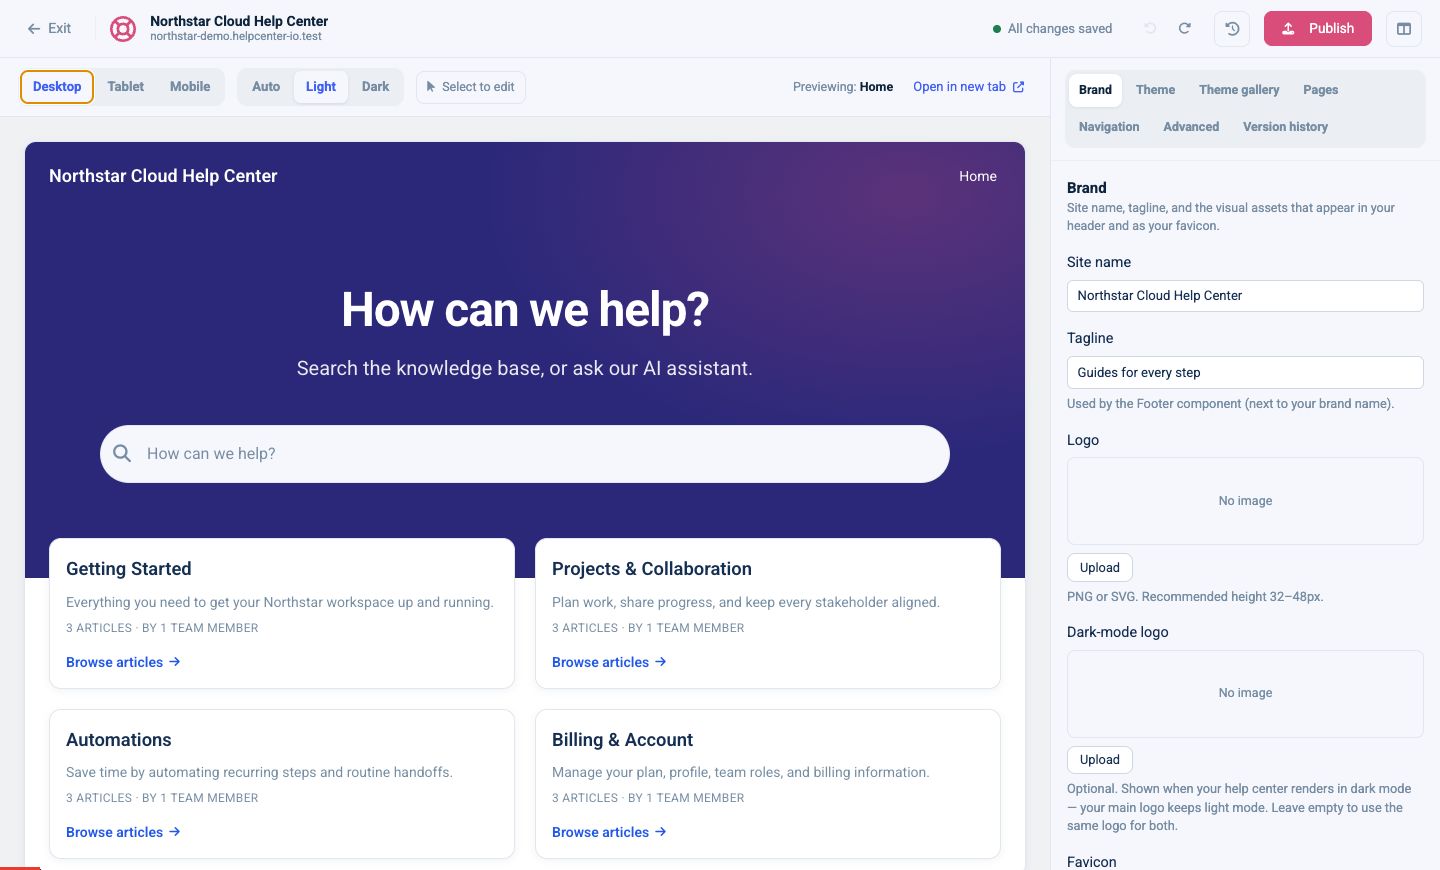
Update the site name and tagline
- Open Brand.
- Enter your Site name.
- Add a short Tagline.
The site name is used throughout the template. The tagline appears in components such as the footer, depending on your page layout.
Add your visual assets
Upload:
- Logo: use a PNG or SVG. A height of 32–48 pixels works well in most headers.
- Dark-mode logo: optional. Add this when the regular logo has poor contrast on dark backgrounds.
- Favicon: a 32×32 PNG or ICO works across browsers.
If you leave the dark-mode logo empty, the editor uses the regular logo in both color modes.
Set the default SEO details
Scroll to SEO and complete:
- Default page title: used when a page does not provide a more specific title.
- Meta description: a concise summary of the help center. Search results commonly show about 155–160 characters.
- Meta keywords: optional comma-separated keywords. Most search engines give these little weight.
Turn on Hide from search engines (no-index) when the help center should not appear in search results. Leave it off for a public help center you want customers to discover.
Control external-link behavior
Nofollow external links adds rel="nofollow" to links that leave your help center. It is enabled by default.
Add trusted hosts to Whitelisted domains when links to those sites should remain normal follow links. Enter domains without paths, separated by commas, for example:
github.com, status.example.com
Configure social sharing
Under Open Graph (social sharing), you can set:
og:titleog:descriptionog:image
For the image, use a 1200×630 PNG or JPG. If the title or description is empty, the help center falls back to the regular page title and meta description.
Preview before publishing
Check both Light and Dark modes after uploading brand assets. Then use Open in new tab to confirm the favicon, browser title, and social copy in a full-size preview.
Your changes remain in the draft until you select Publish.