

Screenshots show readers exactly where to click, and they cut down on follow-up questions. Add images from your computer, paste them from the clipboard or drag them in, and HelpCenter.io uploads them for you.
Who can do this: Owners, Admins and Editors · Plans: All plans
Insert an image
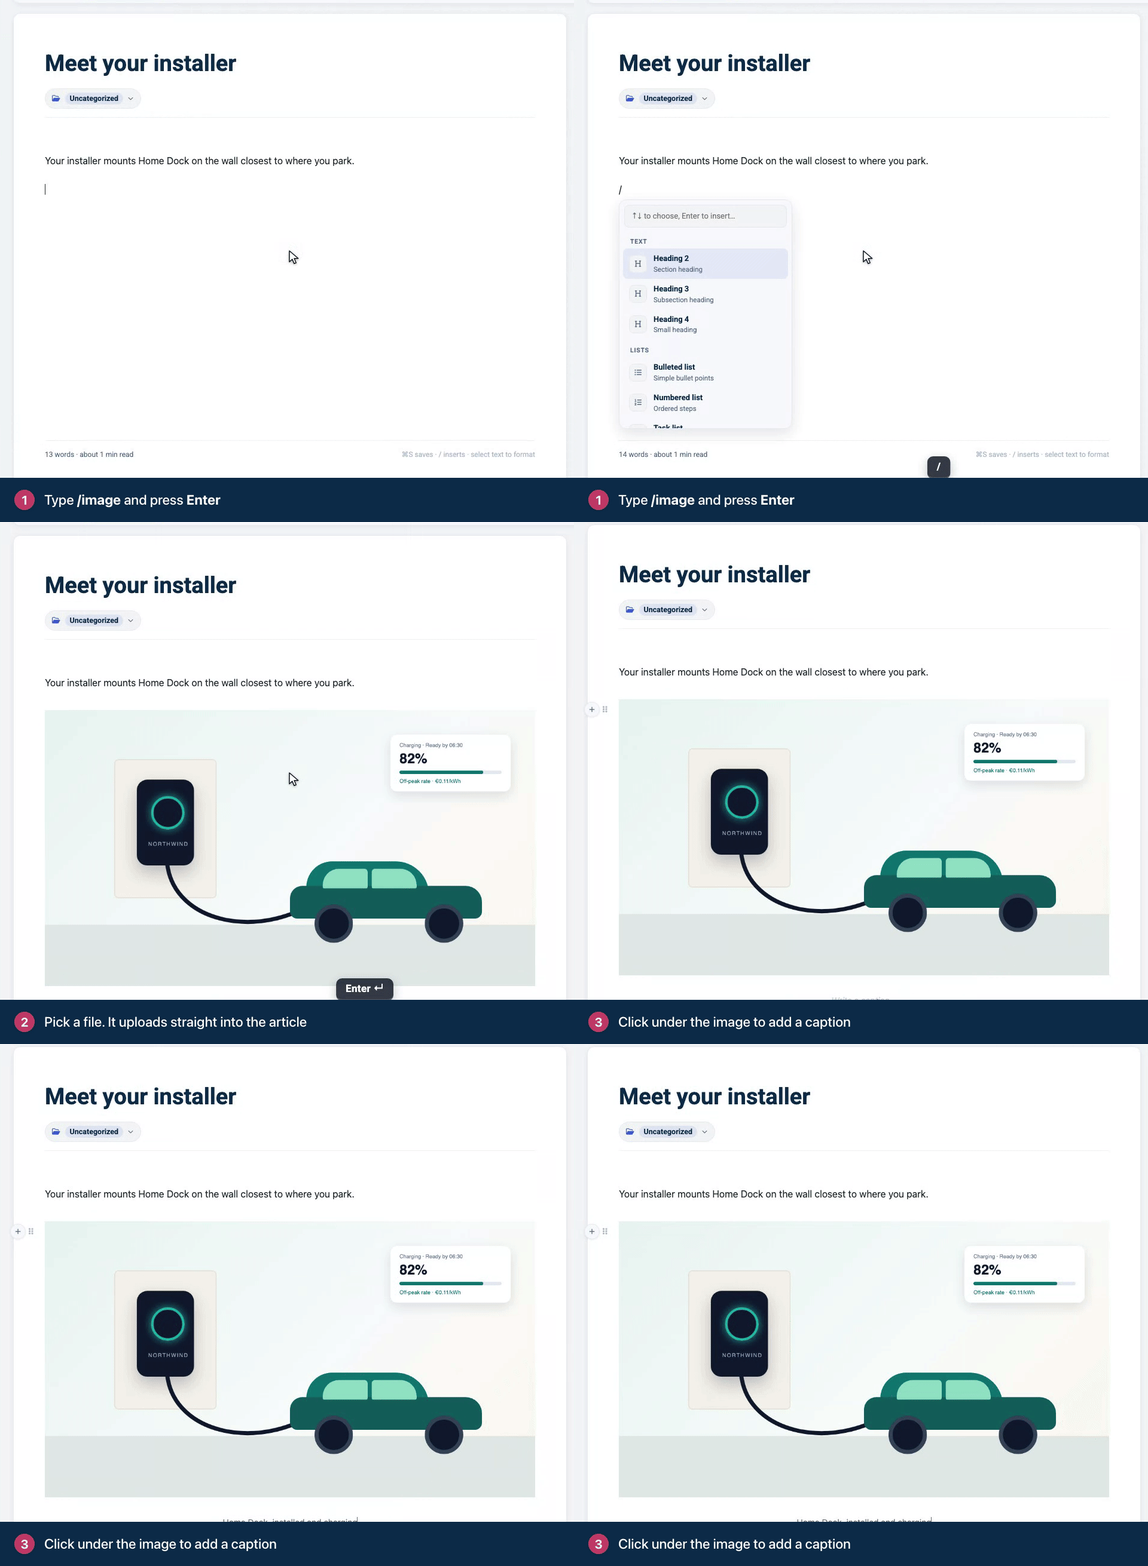
On an empty line, type
/imageand press Enter.Choose a file. It uploads straight into the article.
To add a caption, click under the image, where it says Write a caption..., and type.
Paste or drag an image
Paste: copy a screenshot or an image and press ⌘V (Ctrl+V on Windows) in the article.
Drag: drag image files from your computer into the article. They land where you drop them.
A small picture, such as an icon or a button, that you paste or drop into a line of text stays in that line. Anything larger becomes a block image with room for a caption.
Images inside a line of text
To show a button or an icon in the middle of a sentence ("Click the gear icon"), click in the sentence where the picture goes. Then click the + to the left of that line, pick Inline image and choose the file.
To switch any image between the two layouts, click it and choose Inline or Block in its toolbar. Only block images can have a caption, an alignment and zoom.
What you can upload
JPEG, PNG, GIF and WebP images, up to 30 MB each. GIFs keep their animation, which makes them good for short screen recordings.
Let readers zoom in
Readers can't zoom into an image unless you turn it on. Click the image and click Zoom on click in its toolbar. On the published article, readers then click the image to see it full size. Turn it on for detailed screenshots.
Instead of zoom, an image can link somewhere: click it, then Link to. An image can zoom or link, not both.
Replace or remove an image
Replace: click the image, click Replace image and pick the new file. The caption, alt text, size and alignment stay as they were.
Remove: click the image and press Delete. For an image inside a line of text, click Remove image in its toolbar.
To resize an image, align it or add alt text, see Resize images and add alt text.
Troubleshooting
"That file is not an image. Please choose a PNG, JPG, GIF or WebP." The file isn't an image. Save it as one of those formats and try again.
"Unsupported image type. Upload a JPEG, PNG, GIF, or WebP image." Formats such as SVG and BMP aren't accepted. Convert the file to PNG first.
"The maximum allowed image size is 30MB." Make the image smaller, or crop it to the part readers need.
For other upload problems, see An image or file won't upload.
Comments
Be the first to comment.